5.1. Black, White And Loyalty Lists

Overview

There are 3 types of access control lists, which work as filter checks in Payment Gateway. Lists are being checked while processing the transaction when the respective filter gets applied. BWL screen is designed to manage white, black and loyalty customer lists. This screen is located in “Tools” -> BWL. It makes the process of putting the transactions’ attributes to respective lists faster and easier. It also has quick search which helps to find the exact transaction attribute added previously.

In order to select entries from list, specify manager and merchant/gate/processor for corresponding lists from dropdown menu.

../_images/selecting1.png

It is possible to show any specific category from a certain list by clicking it in Category list to the right.

../_images/selecting2.png

Note

Lists are being checked while processing the transaction when the respective filter gets applied.

Processor lists will be available for choosing only after you set up gate with this processor in Project Strategy/Balancing Beta. Gate lists are be available after setting up this gate in Project Strategy/Balancing Beta.

Black Lists

The first filter checking transaction attributes (email, IP, address, etc) is “Manager/Merchant black list”. It is possible to manage these attributes (excluding BIN) from the Order details screen. The attributes can have the following statuses:

  • attribute is in black list

  • attribute is not in black list


If any transaction attribute matches attribute in the lists and respective filter is enabled at the Project’s level, the transaction status is set to Filtered and the reason for filtering is saved in the transaction data (see Error Codes in Transaction Filters section in integration documentation).
For blacklisting IP addresses, it is important to note that most customers have dynamic IP which can be possessed by different customers of the same Internet provider. Mobile Internet users change IP address each time a session is created. It is also known that customers using traffic compression services (e.g. Opera Mobile) come via IP address of the proxy server provided by the service, most of which are located in Europe. According to statistics, if IP address is denied for more than 10 hours, the filtering will be in 80% cases false positive. This is why it is not recommended to filter transactions by IP without proper control. It is highly recommended prior to adding IP address into the black list to check with the Internet provider what maximal period of IP address denial can be applied. It is also important to check if the given IP address is in any third-party anti-spam systems.

White Lists

White list allows to skip additional filter checks for transactions with attributes in this list. The only attributes for whitelisting are: a card number and a customer DNA.

Note

If the attribute is found in any white list the third-party fraud control systems’ checks are excluded either.

Loyalty Lists

Loyalty list is designed for merchants who work with the predefined set of customers. Database with customers can be managed on merchant side with PCI DSS certification, or on Elecsnet side. The system allows to manage the following several types of predefined clients lists such as names, emails, phones and etc.
If any transaction attribute does not match attribute in the lists and respective filter is enabled at the Project’s level, the transaction status is set to Filtered and the reason for filtering is saved in the transaction data (see Error Codes in Transaction Filters section in integration documentation).
One-time box can be checked for automatic removal of customer from loyalty list after their first payment.
../_images/one-time.png

Adding New Elements To BWL
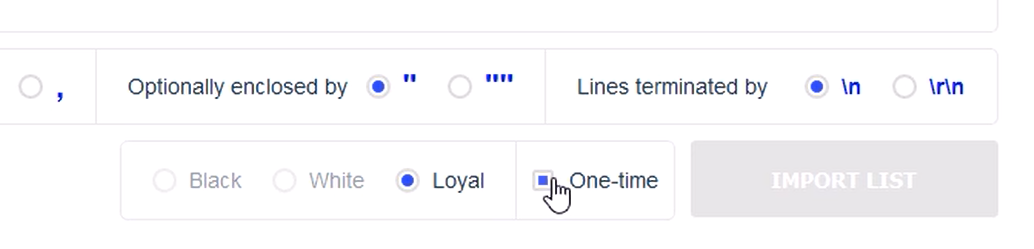
To add new elements, click on the addbutton button. The type of the added criteria will be automatically identified. Ambiguous criteria type can be manually changed, as presented below. It is also possible to use changebutton button to switch between source and destination.

../_images/adding.png

Importing Lists

In order to add many attributes to one of the lists at once, use importbutton import list feature.
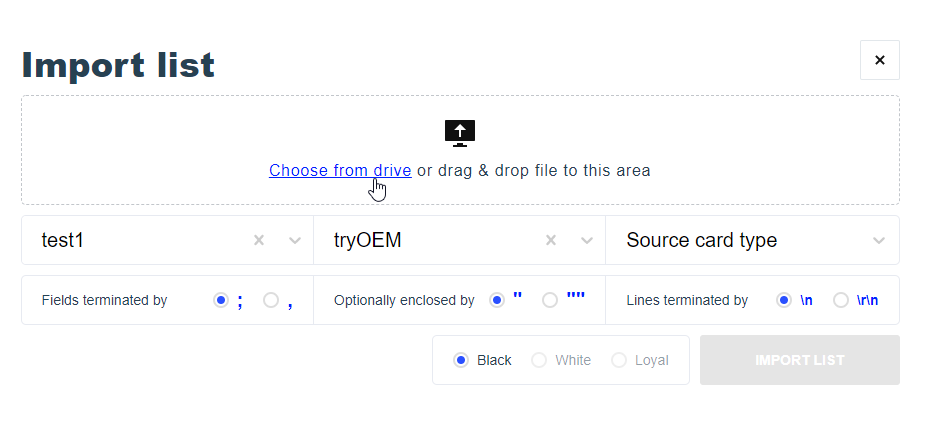
../_images/importing.png
For example, in order to add card number to list, the following order should be used for every line: (5555514066237247,12,2019) with ‘,’ delimiter between lines.
Some lists require a country code. See Alpha-2 Code in Reference section of Integration documentation: country codes.

Note

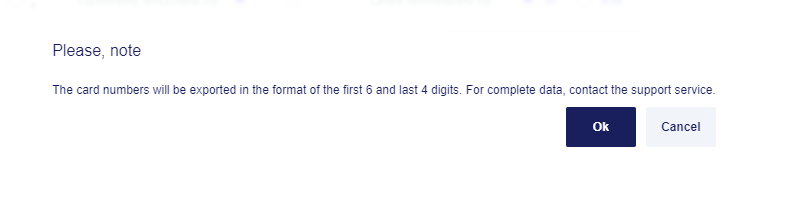
In case of disconnect or other technical problems during the process, contact technical support.

Exporting To File

In order to export your data into CSV file, use exportbutton export to file feature.
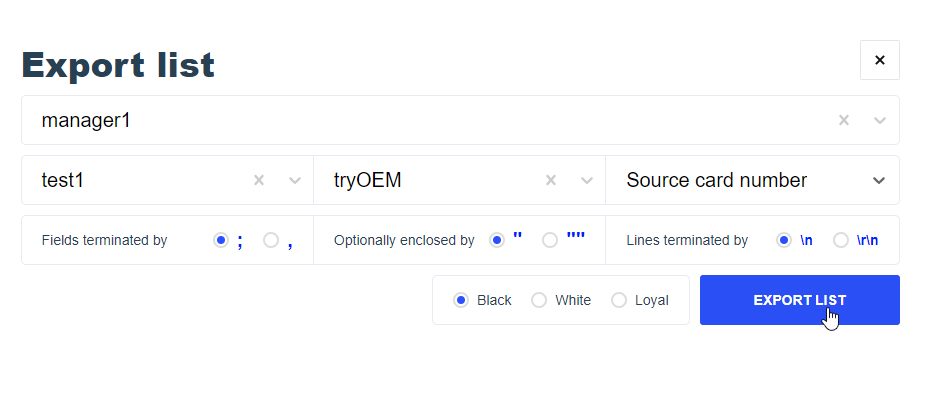
../_images/exporting.png
The data will be parsed according to set parameters.
Source card number and Destination card number export will be in 6+4 format. For complete data, please contact the support service.
../_images/warning.png

Synchronizing Lists

Merchant

To synchronize two merchant lists, administrator can use synchronizebutton synchronize list feature. After synchronizing, lists from both merchants will filter transactions as if you joined your two lists.

Note

Merchants do not have access to see entries from synchronized lists.

../_images/synchronizing.png

Synchronization can be cancelled by pressing the X button near the synced lists entry.

Gate

To synchronize two gate lists, administrator can use synchronizebutton synchronize list feature. After synchronizing, lists from both gates will filter transactions as if you joined your two lists.

Note

Merchants do not have access to see entries from synchronized lists.

../_images/bwlgate.png

Synchronization can be cancelled by pressing the X button near the synced lists entry.

Available Lists For Every Role

Merchant Manager Manager Manager
by Project by Self by Gate by Processor
Black White Loyal Black White Loyal Black White Loyal Black White Loyal
Source Card Number
6+4
BIN
Country
Type
Destination Card Number
6+4
Bin
Country
Type
Country Billing
IP-Address
Customer Purpose
IP-Address
E-mail
DNA
Other E-mail domain
E-mail + Source Card last 4
E-mail + Source Card number
E-mail + Source Card 6+4
Customer Phone + Source Card number
Purpose + Source Card number
DNA + Source Card number

Comments

When adding new records to the BWL lists, optionally, comments can be attached.
When adding records from order page, automatically comment will be added with transaction id.
In order to display comment, point a cursor on «…» next to record in the list.
../_images/bwl_comments1.png

Order Details: Configuring BWL Lists

The attributes can also be added and removed from BWL on order details screen, as presented below:

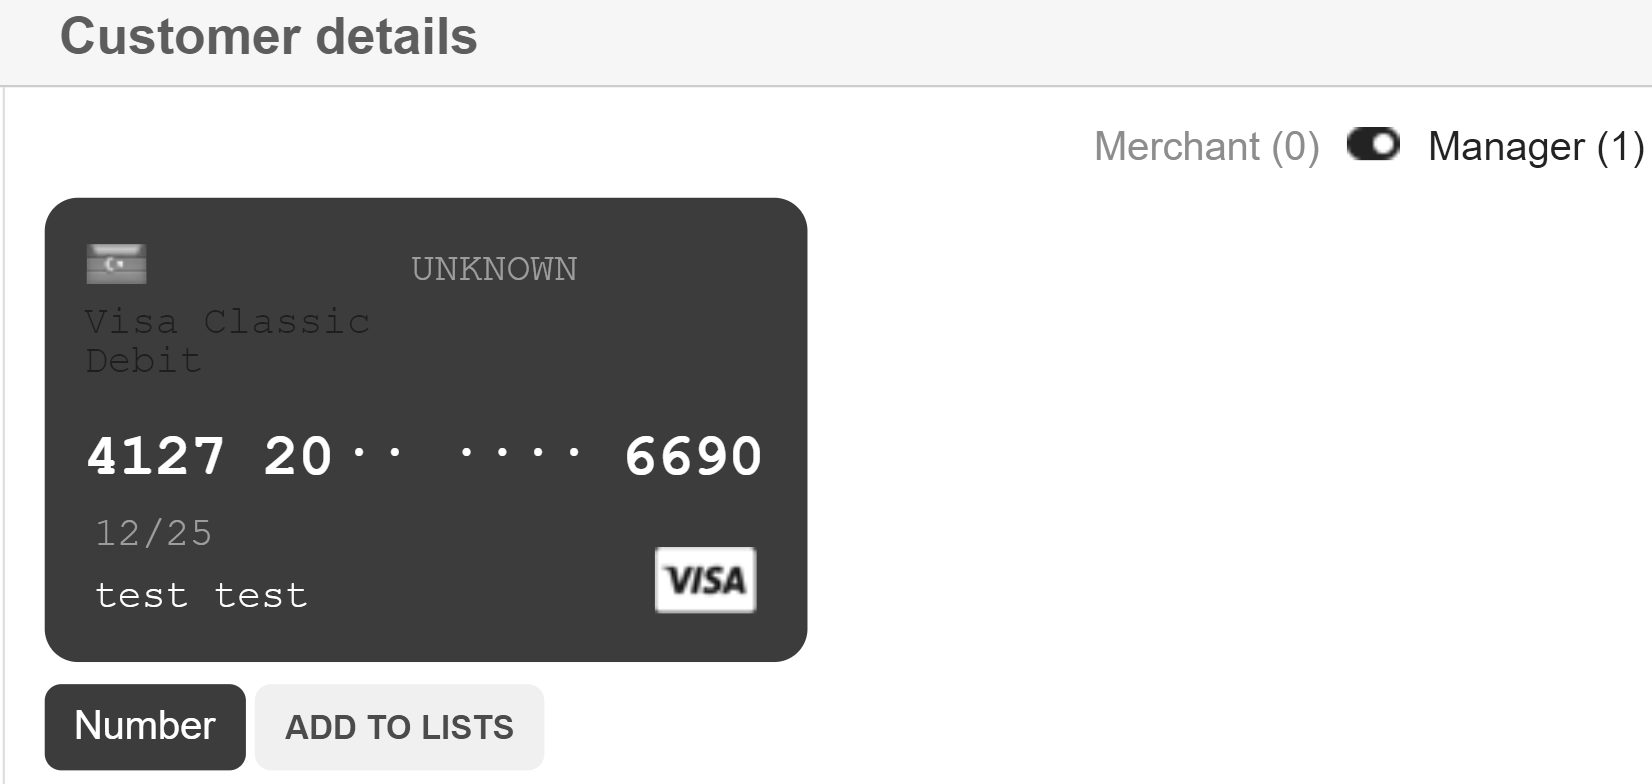
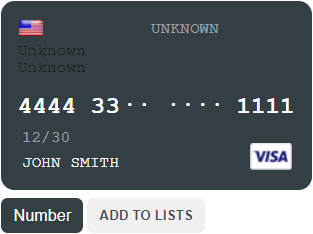
  • Select Merchant or Manager to switch between adding BWL list to Merchant or Manager.


../_images/mmswitch.png

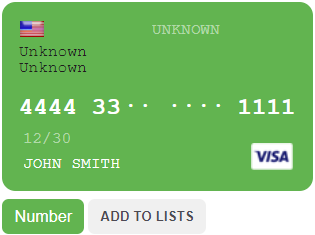
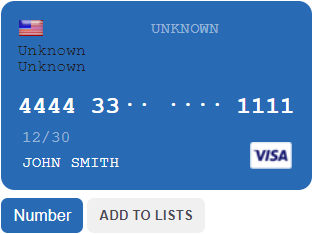
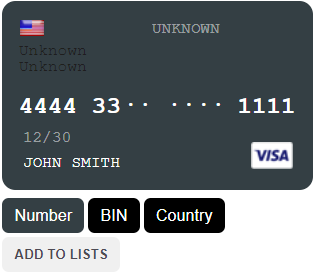
  • Press ADD TO LIST and select one of the shown lists:

../_images/addto.png
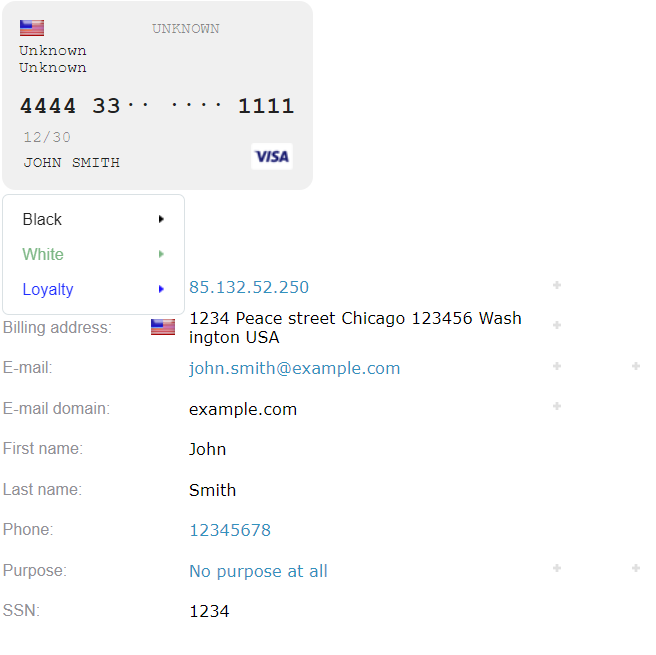
  • After selecting any list, select the criterion by which the card will be listed:

../_images/b.png

Blacklisted card will be shown in black colour:

../_images/black.png

Whitelisted card will be shown in green colour:

../_images/white.png

Card in loyalty list will be shown in Elecsnet colour:

../_images/loyal.png

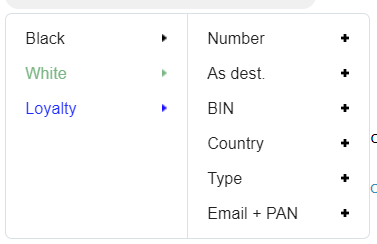
  • Several criteria can be chosen at the same time:


../_images/criteria.png

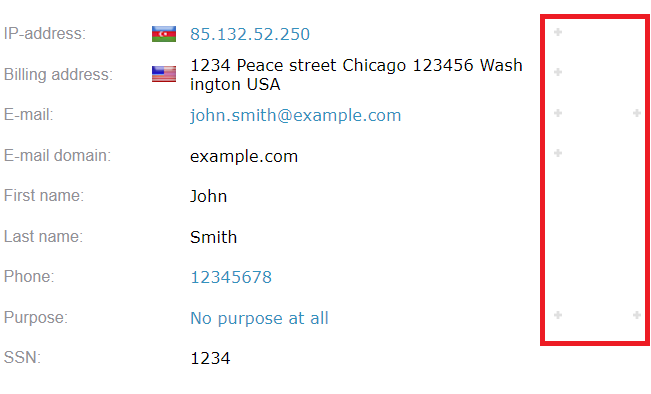
  • Additional criteria can be added via section as shown below:


../_images/adcriteria.png

After adding criteria via section described above, parameters will have colours depending on the selected list:

../_images/adcriteria1.png